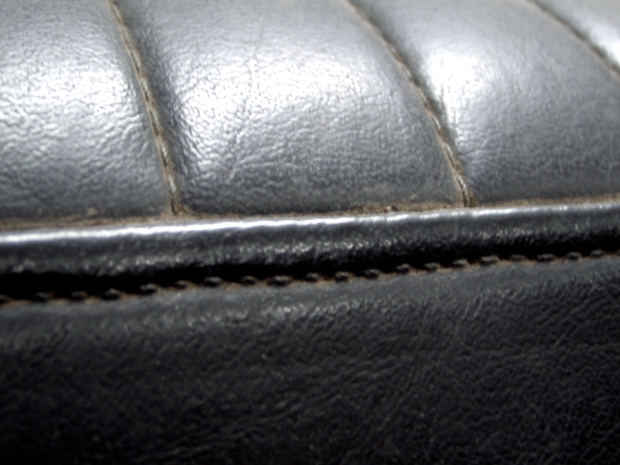
A damaged leather chair or sofa can sometimes be a simple fix if the problem is slight, like a few minor scratches. Even a minor rip or tear can sometimes be repaired as a DIY project. But when a piece is marred beyond a minor problem, the leather repair is best left to the pros. That’s because an inexperienced do-it-yourselfer can do more damage than good to an expensive piece of furniture. On the other hand, a furniture pro can perform amazing transformations on a damaged piece – everything from leather recolor to leather restoration. Take a look at these hacks for leather furniture, but keep in mind that you should always test them first on an inconspicuous part of your leather furniture, to make sure that they work well for the type of leather you have.

If you have minor scratching on leather furniture, you can sometimes blend the scratch away with leather oil. Just apply to a soft cloth, buff softly into the scratch, and wipe away excess oil. If the scratch is too deep for this simple method to work, you can move on to a leather repair kit. But before you can repair leather rips and scratches, you have to clean your furniture. First, clean your leather piece with a safe leather cleaner. You can find many leather cleaning products and leather cleaning kits at your local home improvement store. Lexol Leather Cleaner is a popular leather cleaning product that customers praise for conditioning as well as cleaning, and for being a non-greasy, odorless product. Armor All Leather Wipes are a second alternative, and have the advantage of being neat, convenient, and non-drying on leather.
Once your leather furniture is clean, you can move on to repair. This review of leather repair kits compares several brands of heat and air-dry leather repair kits and details the supplies and steps needed to repair a cut in your leather. The reviewer favors air-dry kits over heat-dry kits because heat-dry kits have the potential to damage the leather. The reviewer used the LeatherNu Complete Leather Color Restoration and Repair Kit, and gave it generally favorable marks, but also mentioned that a kit may have too much of one item and not enough of another for your needs. The reviewer mentioned a rival brand, Leather Repair Kit by Leather Magic because it offers customers the ability to buy individual components and get custom color matching.
The general steps for DIY repair and restoration are to trim large rips; insert backing material behind them; apply repair compound, smooth and dry; grain the repair finish lightly; and apply sealer. Then, you mix and apply the leather dye, and seal the damaged area again.
Even a straightforward DIY leather repair can be a delicate project. Sometimes it’s best to let a furniture pro repair or recolor leather furniture. If you’re unsure of your own DIY skills, or if the damage is more than slight, it’s best to take your leather furniture to a professional.
Repairing leather can be a rewarding DIY project, especially if you have a beloved leather item that needs some attention. Here’s a simple guide to help you get started with DIY leather repair
Assess the Damage
Identify scratches, cuts, stains, or areas where the leather is worn out. Determine the severity of the damage to plan your repair approach.
Gather Materials
- Leather repair kit (includes patches, adhesive, colorant, filler)
- Leather cleaner and conditioner
- Sandpaper (if needed for smoothing)
- Clean cloths and brushes
- Masking tape (for precise work)
Clean the Leather
Use a leather cleaner to remove dirt, oils, and other residues from the damaged area. Follow the product instructions for best results.
Let the leather dry completely before proceeding.
Prepare the Surface
Trim any loose threads or edges around the damaged area. If there are rough edges or minor imperfections, gently sand them with fine-grit sandpaper to smoothen the surface.
Apply Leather Filler (if needed)
If there are small cracks or holes, apply a leather filler from your repair kit. Follow the product instructions to apply and smooth it evenly.
Patch or Glue
For larger tears or holes, use a leather patch from your repair kit. Apply adhesive to the patch and carefully place it over the damaged area, ensuring a tight bond. Use masking tape to hold the patch in place until the adhesive sets (follow drying times as per the adhesive instructions).

Color Match
Use the colorant from your repair kit to match the color of the repaired area with the rest of the leather. Apply the colorant in thin layers, allowing each layer to dry before applying the next. Blend the colorant with the surrounding leather for a seamless finish.
Finish and Condition
Once the colorant is dry, apply a leather conditioner to the entire item to moisturize and protect the leather. Follow the conditioner instructions for application and buff the leather for a polished look.
Final Touches
Inspect the repaired area for any imperfections or color mismatches. You can touch up as needed to achieve a satisfactory result. Allow the leather to dry and cure completely before using or storing the item.
Maintenance
Regularly clean and condition your leather items to prevent future damage and maintain their appearance and durability. Remember, patience and attention to detail are key to successful leather repairs. Start with small projects to gain confidence before tackling more significant repairs. Always follow the instructions provided with your repair kit and Dr.Sofa for the best outcomes.
Thank you.
